Still haven't gotten the courage to start Common Bride. But I was working on a few hexies and it occurred to me that Hexies are nothing but Y seams. So why not just quickly baste the seam and then when I'm happy with how it looks, go back over with the machine. The seam will already be marked, oh this just might be the the thing to get me started on it. I'm getting closer. Here's my hexie work for the week. A few more white ones around the border and and all but two of the purple colors are ready to go. Linking up with Angie for Hexie Friday
Pages
- Home
- Sue Daurio Quilting
- 2019 Quilts
- 2018 Quilts
- 2017 Quilts
- 2016 Quilts
- 2015 Quilts
- 2014 Quilts
- 2013 Quilts
- 2012 quilts
- 2011 Quilts
- 2010 Quilts
- pre 2010 quilts
- Dear Jane
- QOV
- Customer Quilts
- Long Arm Quilting
- Etsy Shop - Quilt Services
- Edge to Edge Patterns
- Splendid Sampler
- Tutorials and EQ7 Projects
Friday, July 19, 2013
Saturday, July 13, 2013
My procrastination knows no bounds - Hexie Friday
I've even been working on Hexies in the evenings which normally are car travel activity only. I only have one more blue diamond for the center to be sewn to the rest. All the yellows are done for the next round, but each of those yellows needs purple on the out side. It's getting there.
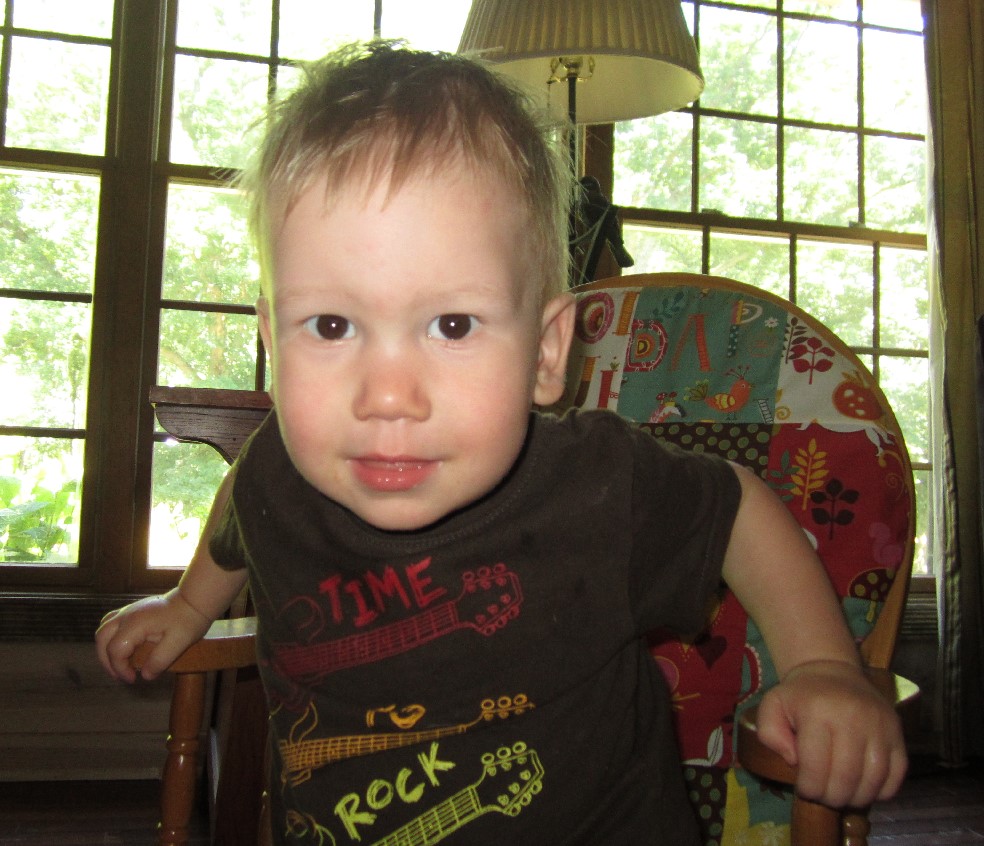
And Mr Smiles is having a sleep over today. He just found his little glider and he loves it. He can get in all by himself when he wants.
Linking up with Angie for Hexie Friday, I've gotta get me some bears, they look so adorable next to every one's blocks.
And Mr Smiles is having a sleep over today. He just found his little glider and he loves it. He can get in all by himself when he wants.
Linking up with Angie for Hexie Friday, I've gotta get me some bears, they look so adorable next to every one's blocks.
Thursday, July 11, 2013
It's that time of year again - 100 Quilts for Kids
Ok I think have perfected the art of procrastination. I wanted so badly to start Common Bride. I have the pattern, have the fabrics laying out nice and neatly on in a sew room that had scraps under control thanks to Mission Scrap Attack. But I'm afraid, I'm scared, I'm not quite but almost terrified of starting this absolutely wonderfully beautiful quilt. I will go to drastic measures to not start it. Such as curved piecing. Yep I got 25 more blocks on Center of My Universe. I like how it's looking Seriously curved piecing has nothing on Y seams - yes the dreaded *Y-Seam*. I really need to learn how to to do them.
And then I got bored with the curved piecing, ya can only do so much with that. I still have 50 blocks to go....but hey I'm 25 closer than where I was before :) And then I saw that it's time again for 100 Quilts for Kids. I LOVE making kid quilts. They aren't too big, they're bright and cheery - and then keep me from starting Common Bride. So out came all the strings I have . I huge tub full. I made 8 giant 18 inch blocks and you can't even tell there are any missing. Funny I like the Boy quilt and my husband likes the girl quilt. Either way, plenty more strings so we'll have at least a couple more boy quilts and a couple more girl quilts. I may be able to get 6 out of the strings and 4 charm packs I found laying around. Maybe more. All I know is that those 18 inch blocks didn't use up nearly enough strings.
| Center of My Universe - almost 1/2 done |
| 100 Quilts for Kids - boy Strings |
| 100 Quilts for Kids - Girl Strings - purples and yellows are really brighter than what I see on my computer. |
Baby Smiles is having a sleep over on Sat and Sun is fun in the City - Taste of Chicago. So this may be it for sewing for the weekend. Linking up with Sarah, go see what everyone is whooping about this Friday. Linking up with Judy for Design Wall Monday -
Sunday, July 7, 2013
Project Scrap Attack is complete!!
Yep that's right. My Scrap Attack project was making 4 quilts from my scraps as there were getting completely out of hand. And yes I made 4 quilts and still have enough scraps to make another 4. And there's a prize for me at the end of project scrap attack. I get to start a quilt that I just absolutely fell in love with the first time I saw it. So 4 quilts huh? Yep Scrap Attack number 1 can be seen here. I won a bag of scraps that had the coral and brown fabrics. I never put them away so I used them up. I added the greenish yellow color. I love the combination of colors in this one. Not something I ever would have planned for myself. And that's what I love about using up scraps, you do things that out of your comfort zone.
And then there's freshly squeezed- scrap attack quilt 2 - I used left over strings that were just sitting there looking all pretty and a charm pack that I never put away. Front and back are all scraps
Scrap Attack #3 is a QOV quilt. Just used 2.5 in strips. I even got the binding out of my scraps on this one. Not sure how I ended up with so many 2.5 in strips of the same fabric but they were all in the scrap bin. And now put to good use!| Scrap Attack #1 |
| Fresh Squeezed back |
| Fresh Squeezed |
| Scrap Attack #3 - QOV |
| Scrap Attack #3 back |
| Scrap Attack #4 |
| Scrap Attack #4 back - love Ikea fabrics for the back |
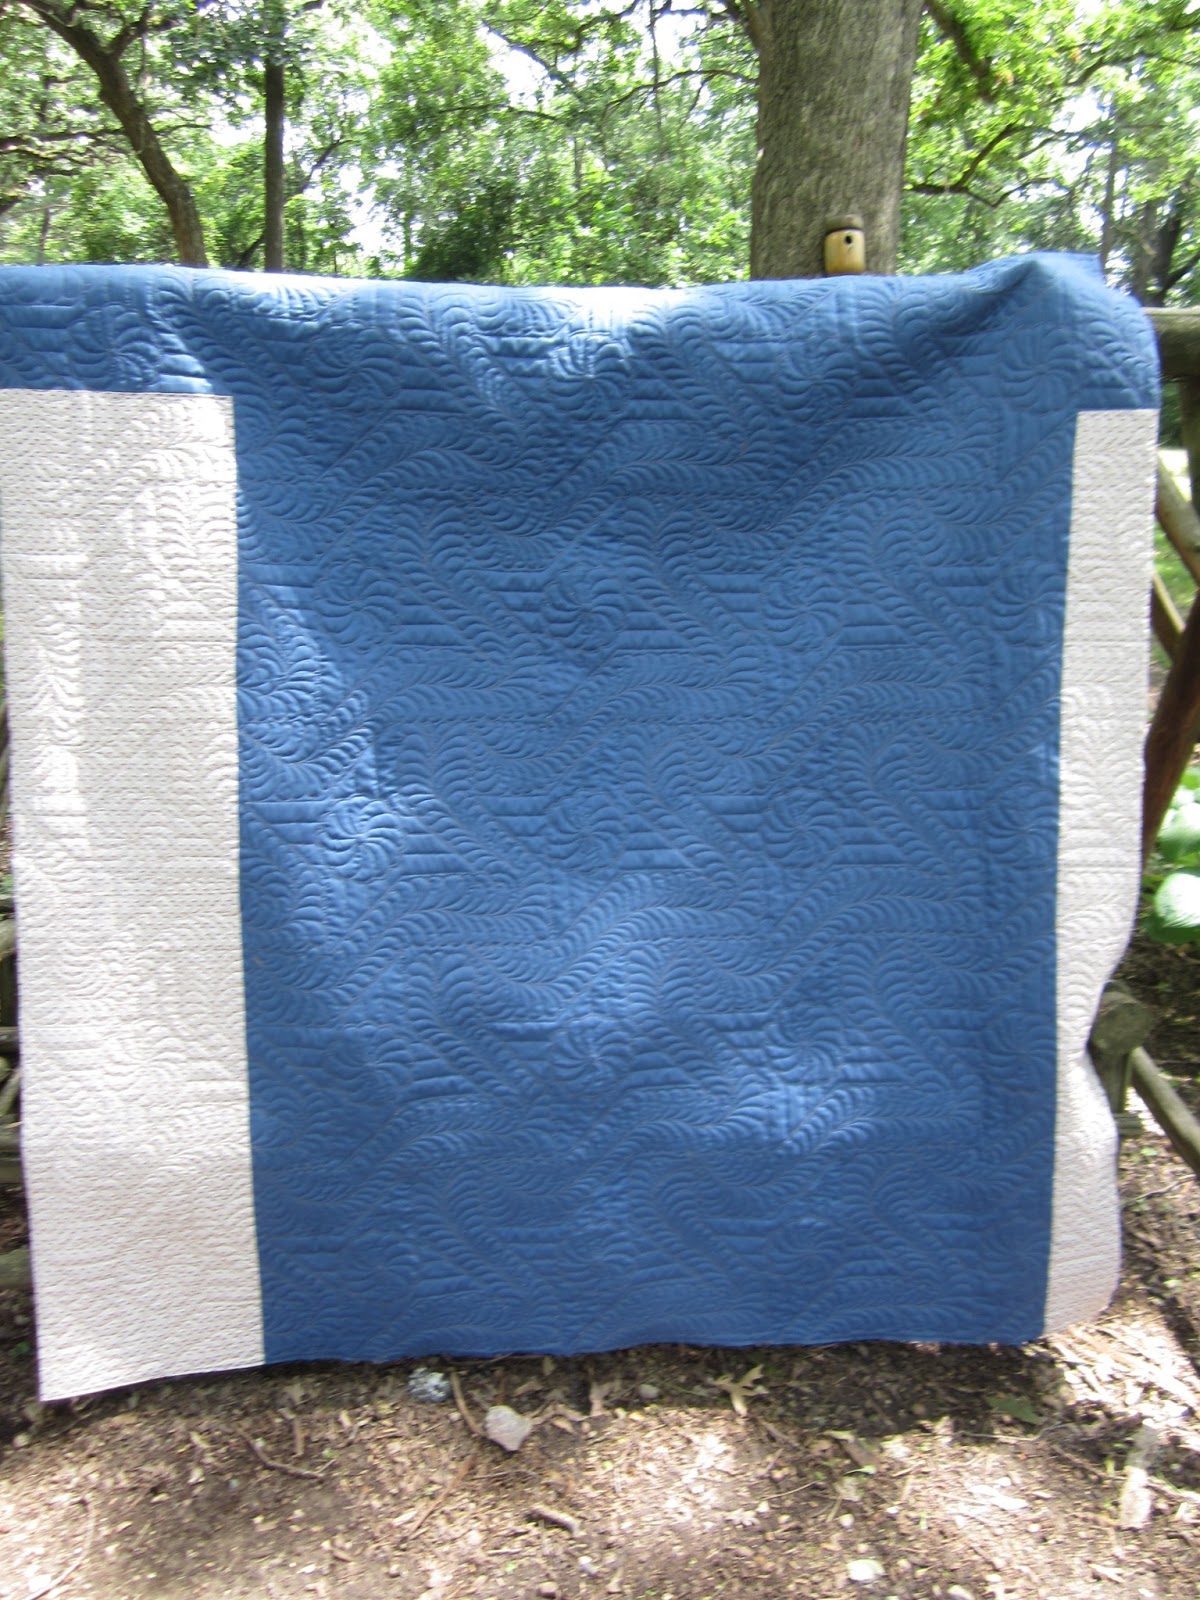
I also finished a QOV that was sent to me from Marian. What a great pattern she used. I wanted to create motion in this so I had the feathers winding around the blocks. I was in a feather mood!!
Thursday, July 4, 2013
Happy Independence Day!!
Hope everyone has a safe and wonderful Independence Day. The weather here in the Midwest is starting to feel just little bit like the fourth of July!! Sunny and in the upper 70s.
I was able to get up early enough and get a little quilting done. I'm working on a QOV - now that's appropriate right? :) Someone suggested I do a video for how I mark things and get them quilted. Well that's not gonna happen. But I did take some extra pictures, so you can see how I mark things, tools I use and what I mark. Hopefully this will benefit someone! On this particular quilt, I have a center motif for the red and blue patterns, and background feathers for the background. I start by marking the center of the block with a chalk pencil.
I then place the stencil using the center mark
The stencil has a rough side and a smooth side. I place the stencil rough side up, then rub (not pounce) my pouncer across the stencil. I got this new pink chalk that just rubs off with a paper towel ( I use a small scrap of batting and it works like a charm!) at the quilt show a few weeks ago. I also have the white magic chalk that comes off with steam, that works great too. The pink I really like (I don't need steam) and I can use it on white and light color fabrics. It does tend to come off from the vibration of the machine. I've used this stencil a number of time so very familiar with it. Not sure how the pink chalk would work on a stencil that I'm just getting use to simply because it does have a tendency to come off while quilting (which is what I kinda like about it - easy removal).
LOL this picture has ALOT of chalk on it!! Normally I don't have *that* much on there. But for illustration purposes, we used a *little* extra. I also like to mark the lines for the ruler work - yep I tend to mark AND use the ruler. I use a regular chalk pencil for this part. For the back ground feather I mark the spine with the air erasable marking tool. The line just goes away over time. You may have to click on the picture to see the purple lines.
Here's a picture close up of the purple line. I just free hand roughly where I want the spine to be. In this case the feathers are going around the block so all I have to do is mark roughly in the middle making sure there are nice gentle curves all the way around. Now that the marking is done, it's time to get to some quilting.
Here's my marking tools that were used.
And this is what it looks like when quilted. You can see the chalk is gone and the purple marks erased. I'm hoping with the feathers going around the block that there will be a bit of motion in the quilting when it's all done.
I hope everyone enjoys the day and enjoys the freedom that we have which allows us to choose how we spend this day!
I then place the stencil using the center mark
The stencil has a rough side and a smooth side. I place the stencil rough side up, then rub (not pounce) my pouncer across the stencil. I got this new pink chalk that just rubs off with a paper towel ( I use a small scrap of batting and it works like a charm!) at the quilt show a few weeks ago. I also have the white magic chalk that comes off with steam, that works great too. The pink I really like (I don't need steam) and I can use it on white and light color fabrics. It does tend to come off from the vibration of the machine. I've used this stencil a number of time so very familiar with it. Not sure how the pink chalk would work on a stencil that I'm just getting use to simply because it does have a tendency to come off while quilting (which is what I kinda like about it - easy removal).
LOL this picture has ALOT of chalk on it!! Normally I don't have *that* much on there. But for illustration purposes, we used a *little* extra. I also like to mark the lines for the ruler work - yep I tend to mark AND use the ruler. I use a regular chalk pencil for this part. For the back ground feather I mark the spine with the air erasable marking tool. The line just goes away over time. You may have to click on the picture to see the purple lines.
Here's a picture close up of the purple line. I just free hand roughly where I want the spine to be. In this case the feathers are going around the block so all I have to do is mark roughly in the middle making sure there are nice gentle curves all the way around. Now that the marking is done, it's time to get to some quilting.
Here's my marking tools that were used.
And this is what it looks like when quilted. You can see the chalk is gone and the purple marks erased. I'm hoping with the feathers going around the block that there will be a bit of motion in the quilting when it's all done.
I hope everyone enjoys the day and enjoys the freedom that we have which allows us to choose how we spend this day!
Subscribe to:
Posts (Atom)