Sunday, January 28, 2018

Boo Boo blocks turn into New Friends

Oh boy, can you believe I have 2 finishes? Yep, not one but TWO!! There's more, much more.  Bindings - 5 of them, woohoo!!! Talk about doing a happy dance.  I'm all caught up with the exception of one binding and *maybe* if I feel industrious I'll get that on tonight, but if not, I'm basking in the glory of 5 bindings on quilts and no longer on my cutting table.  This guy here, he's the one without a binding.  The last of the Comfort Quilt drive from 2016.  We made 17 and this is the last one quilted, the last one to need a binding, feels sooooooooo goooooooooddd!  This guy has Hobbs Poly Down batting, ya, a little bit of loft here eh?  But it looks great with this panto, Arris by Jessica Schick.  Glide 40 wt on top and 60 wt on the bottom, love the 60 wt in the bobbin.  I just love a graphic quilting design on solids. Good thing I got these all wrapped up, cuz Hands2Help Challenge is about to start up again, see the button on the side bar.  You won't want to miss it!

Will you look at that texture?  Love graphic patterns on solids - Jessica Schick Arris

Great use of the extra 2.5 in strips from binding

the back - how fun is that

 No Broken Bones Required completed, yes even the binding.  I'm just too lazy to get pics with the binding on, but trust me, it's there.  Just need to deliver this baby.  This has Poly Down batting, glide thread on top, Bottom line in the bobbin and the panto is lines with holes (really that's the name). It came with the qbot, so might be been designed by them, I tried to see if there was a designer for it, but couldn't find anything in the two minutes before distractions made it too hard to look any longer.  You can't tell with the pictures but the fabrics are gold, looks pretty cool in person.  There's some silver in there too.  I really wasn't a fan when I started but they've grown on me.
No Broken Bones Required, Hobbs Poly Down batting, Lines with Holes Pantograph, Glide Thread on top
Lines and Holes
Add caption

Cotton Sateen on the back so soft and smooth
So with all that computerized quilting going on that gave me some time for binding.  It took me a while dragging my feet, cleaning things up, dusting, vacuuming,  everything has to be JUST RIGHT for binding.  But once I finally got started there was no stopping me. Got them all done, all of them.  Phew, glad that's over, one more to go.  Well ummmmm there is that big monster Old Friends, but I need to get some material for that one.  So here' s a nice little stack of quilts that got their final stitches.  All completed and ready for the next phase of their lives.  Like my babies growing up and all that.
Look at that stack of quilts all with fresh new binding! They finish up so nicely
Now, once the binding is done and there's still computerized quilting going on what do I do now? Well that's when I look at those Boo Boo Blocks from old friends.  I made all these double nine patches the wrong size.  16 of them, yep, felt so good when they were done.  Couldn't wait to put them up with the other blocks.  Not sure why I waited for block 16 to be completed before giving it a try, but seeessshh they are way off the mark.  But now look at them, I've got a double nine patch quilt.  I'll add a couple of borders, just like the borders on Old Friends, hmmm I think I'll call this quilt New Friends.  So let me introduce you to New Friends.  I can't wait to quilt this one.

New Friends just needs a couple of borders
Finally here's a couple of quilts that were finished but never made it on the blog. I think they made instagram, but not here.   The snow ball quilt.  Have you ever gotten a Jinny Beyer quilt kit? I  swear there is twice as much fabric as needed in those (hey I'm not complaining here).  I made 3 quilts from that one kit, Three nice size quilts.  Definitely got my money from that kit, and this is the last of that fabric.  I do like to do some custom quilting on comfort quilts and this one got a little special quilting.  The center of the snow ball is computerized, Donna Kleinke Angel Wings, it worked really well, then some free hand stuff and there you have a sweet little quilt.  I think this one has Hobbs 80/20 batting
Snow Ball Comfort Quilt

Snow ball centers were computerized Donna Kleinke Angel Wings

Love the back of this one


A couple of love quilts, one has Patricia Ritter Nightlight, the other has Patricia Ritter Cupid.  Both of these have Hobbs Poly Down batting.
Moda Love Quilt
Patricia Ritter Nightlight
Patricia Ritter Cupid
Moda Love 2

Siggghhh and that's all I have for this week :)  Check out the linky parties on the side bar and go get inspired!!  Have a great week

Thursday, January 25, 2018

No Broken Bones Required

My sweet great Niece Olivia knows that I do comfort quilts for the cancer center, veterans and those in the hospital that need a good warm quilty hug.  She also likes quilts.  She also hasn't gotten a quilt from me since she was born  and has grown out of that one just tad (she's a freshman in high school - a TEENAGER, almost driving, whatttttt??? where do the years go?).  She said "so.....what do I have to break a bone or something to get another quilt?".  No, no, no honey, and thus the name of this quilt, No broken bones required.  Ya, she's been asking for a quilt for so long that I when I finally started working on this one I had to make sure the color scheme in her room was still the same and she still wanted to the gold and grey. Yep, I got it made before the color scheme changed!!  It's just a simple something that I worked on when the On Ringo Lake got to be  a bit too much and I just needed to sew.  Now to get her quilted.
No Broken Bones Required
I decide to just leave Old Friends as is.  She's now trimmed and sits waiting patiently for binding.  Ugh, I so dislike binding.  I'm gonna throw this out there again, anyone  local (within an hours drive) of Crystal Lake, IL that either does binding (I'll pay) or wants to trade binding service for quilting service, just let me know. Please, please, please, don't make me put the binding on this thing :)  Here's some detailed picks a little better than the last set.  When you finish such a big quilting project like this there is definitely a sense of accomplishment.  So happy to have it done. But I also spent a good part of every single day for over 2 weeks with this old friend and now I feel just a tiny bit of sense of loss without her on the frame.  Anyone else feel that way after a really tough project?  Guess I ought to just get her done and on bed and then I'll be nice and close to this old friend again.


Whooping it up for another finish!!  I'm on a roll here.  Check out the link parties on the side bar, so much to see out there.  Have a great weekend.

Friday, January 19, 2018

Fresh off the Frame

Yep that's right, Old Friends is off the frame, I couldn't be more excited!  I haven't trimmed it yet.  I'm still trying to decide if I can live with the invisible thread in the colored borders of the blocks or if I'll rip them out. I did use some of that delicious 60 wt Glide thread in the nine patches and the border squares.  I used a medium grey which blends in wonderfully in the medium colored squares, looks a bit dark in the light squares and a bit light in the darker squares, but I definitely like it better than the invisible thread in the border blocks.  I'm checking the back to see if any stitches need to be redone, you know the usual thing.  When ever I do a custom quilt I ALWAYS forget to quilt one area. I go over the quilt many time before it comes off the frame and just don't see it until I lay the whole thing out.   Still trying to find that spot as well, I know it's there!  I did try to take some pictures in the snow.  How do you take good pics in the snow?  I love them so much, but I always destroy that flawless blanket of white on my lawn with my big booted feet.  This was no exception.  It was a bit windy, sorry about the snow on the quilt, but there was no spot on in the house with an empty space big enough for this beauty.  Maybe I'll try again when there's less wind.
How do people take those wonderful pictures in the snow??? It was a bit windy and challenging to keep this on the ground

sigh, trampled snow

One big quilt

Just love a fresh off the frame quilt
Even harder getting the back outside - this almost ended up in the neighbors yard right after this shot. Big gust of wind go right under this big quilt and I was running after it!  What a sight

Yummy! that Cotton Sateen has a little bit of sheen and is just so soft
Specifics on this quilt -

  • Size - 108x108
  • Pattern Old Friends BOM - this was a free BOM from Calico Girls that started in Nov 2014, yep, that long ago.  But hey almost there now, trim binding, done. Ok I may get stuck on the binding for some time.....
  • Batting - 2 layers, Hobbs 80/20 on bottom (I wish I would have used a black batting, but I used what I had since this was mine) Hobbs Wool on top
  • Thread - In the grey back ground top and bottom - Dark Grey Bottom Line (there may be a shortage of this thread now :) - over 9000 yds of the stuff on this baby.  I used monoply invisible thread in the blocks.  I'm happy with it in the continuous curve of the sample blocks, undecided with the feathers in the borders of the sample blocks.  I also used the Glide 60 wt medium grey on the nine patches and the border colored squares - love that thread so far, can't wait to give it a spin in the bobbin
  • Fabric - Backing is a dark grey cotton sateen, just love it.  The back ground is charcoal grey Kona solid. The colors were from a box of solids and some scraps, robert hoffman maybe, I had a box of 100 fat quarters, oh what fun that was!
  • Lessons learned - when you haven't quilted for over a year and have the itch to quilt something crazy, try a smaller quilt :)
But wait.....that wasn't all, there's another finish, whaaaaat?  Yep two.  As I was trying to take pictures and checking the stitching on the Old Friends quilt, I put my lap size On Ringo Lake on the frame. This one, done in 5 hours! No custom quilting, no running out of thread, smooth sailing and done in a day. 
See how nice it fits with my green and blue living room

extra blocks on the back

Here fishy fishy, aren't these fun?

ahhhh, that's what I wanted

Old favorite couch quilt

New favorite couch quilt, just needs binding and to be broken in

Specifics for On Ringo Lake
  • Size - 60 x 72  - pond size, gold fish pond size.
  • Pattern - Bonnie Hunter On Ringo Lake
  • Batting - Hobbs wool, had just enough left on the roll so I used it up, I feel special!
  • Thread - Glide 40 Wt on top - marigold and Glide 60 wt in the bobble, I believe the name may have been gold fish, or maybe that's just want I wanted it be cuz it would have been perfect for the panto I choose
  • Pantograph - Denise Schillinger - Gold Fish - this quilt is so busy that you'll never see the quilting pattern unless you use some crazy thread, which isn't my style.  So I decide to have a little fun and quilt some fish, seemed appropriate for On Ringo Lake!
  • Backing - extra blocks and fabric and grey minky that was laying around.
Now, here's dear sweet April taking a nice little break that she so well deserves.  < big sigh>, with those two things out of the way, what will I do now? Well I'll get ready to return to work on Monday.  Went to the Dr yesterday and cleared to go back.  Old Friends will always be thought of as my recovery quilt.   Of course there are linky parties to fill that time and inspire us all, check out the side bar and have a great weekend!

Friday, January 12, 2018

Behind the Seams - As The Frame Turns

I'm making progress this year, 12 days into it and I think I have quilted every single day!!!  My goal is to get in 3 hours of quilting a week, every week, or at least 80% of the weeks. Cuz you know things just happen in a year, they always do. We don't know what, we don't know when, but we do know there will always be a need to be flexible. So far, two weeks in, I'm batting 1000. What do I have to show for all my quilty time this week?  I'll show you a little update on Old Friends BOM, I'm also going to show a bit and explain a little about how I mark my quilt and what works for me.  Ya, I do these sorts of things when I run out of thread.  Hmmm and so far in this short year, I've run out of thread twice.  I hope that doesn't continue through out 2018.  I also have, get this, the first quilt top of the year completed!! Yes really, pretty excited about that one.  Thread.... my husband doesn't understand when my thread stash can look like this  how I can possibly run out of thread not once, but twice in as many weeks.  I tried to explain to him it's like screws, one type, one color works for one situation.  You can use a wood screw when you want to put a screw in metal. I think he gets it. Words he's given to me when I've asked him how many different screws do you need? 
My Thread Stash, I LOVE thread
But this was a little hard to explain - got me some Glide 60 wt thread, can't wait to use it.  I completely left out the little detail that all these wonderful cones of thread still will not resolve my current thread shortage.  I think that will wait for another time.
Glide 60 Wt Thread - yeah!!!
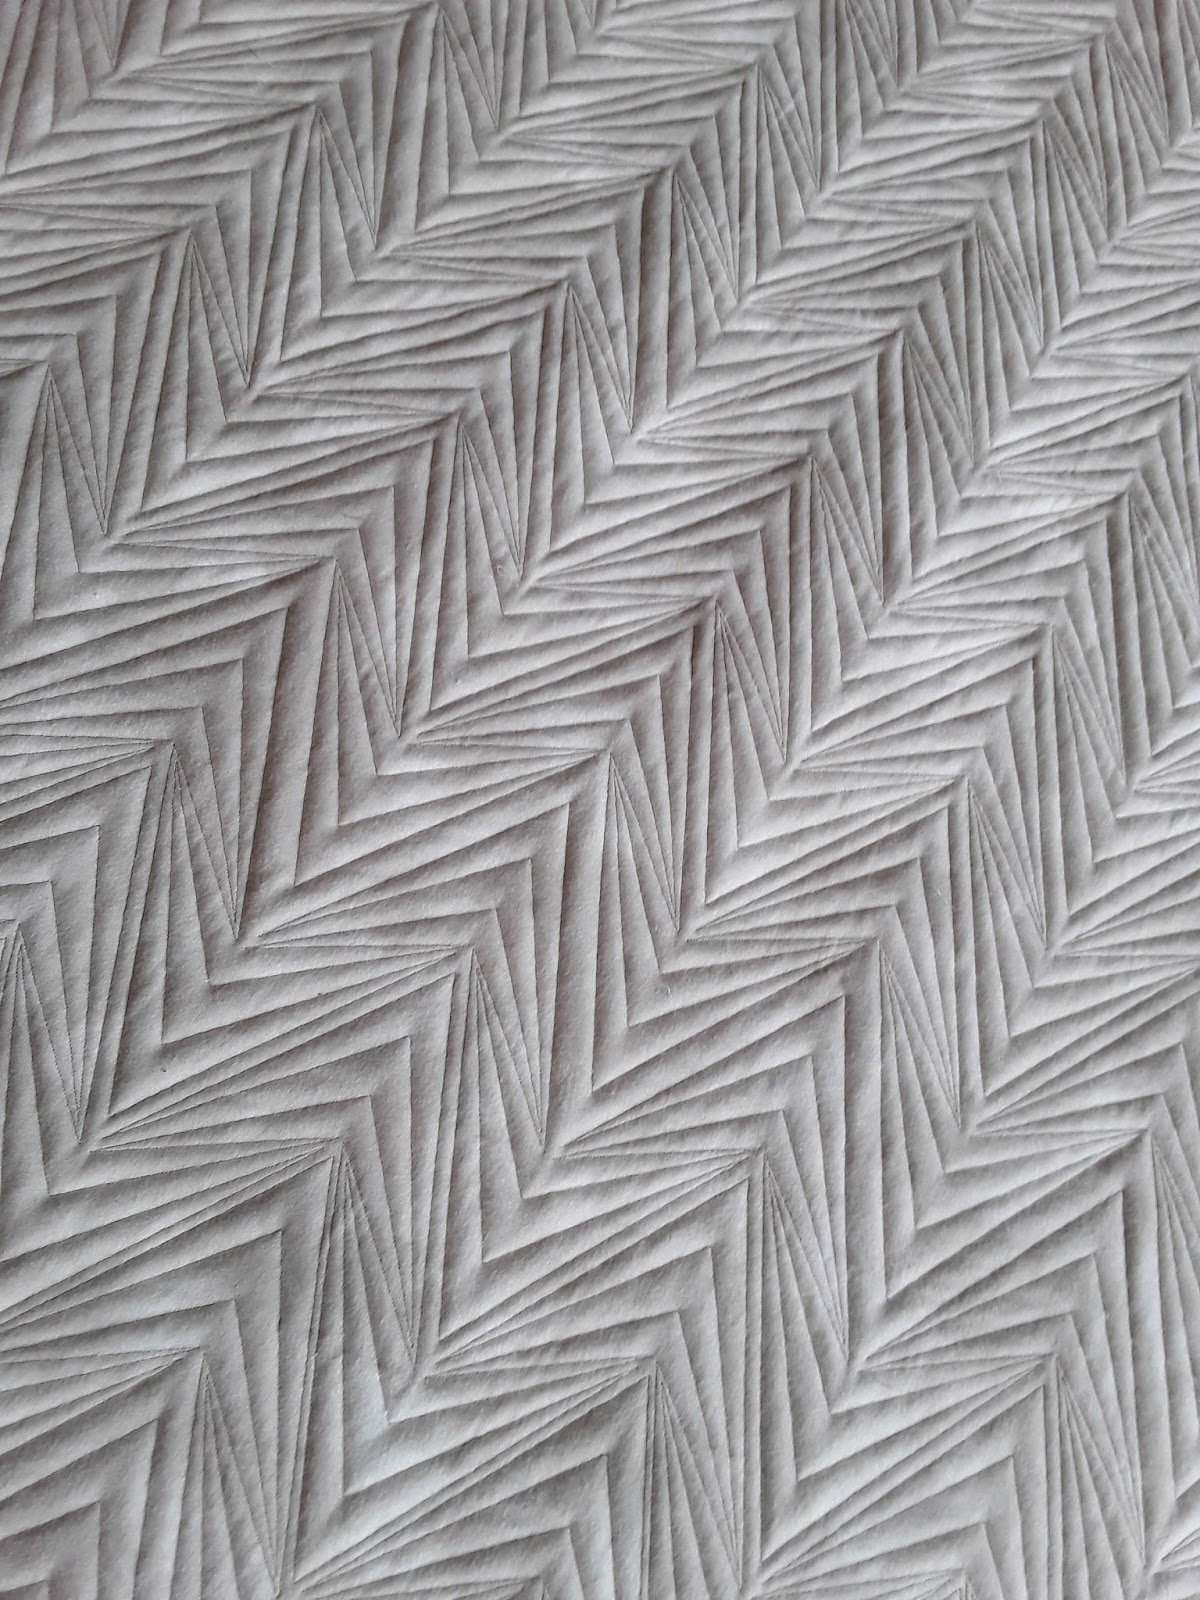
What kind of thread do I need then?  Superior Bottom Line (why do I always when to call it bobbin line) Dark Grey.  I  had a partial cone, used that. Ordered a 1430 yd spool and used that. Ordered a 3000 yd spool and used that.  I have 3 3000 yd cones on order, which should get here in no time.  I did order another spool of 1430 which arrived yesterday to hold me over until the cones get here.  My Old Friends BOM is using a whole lotta thread.  I am using it in both bobbin and on top so it's doing double duty.   And of course I'm quilting every open space I possibly can.   I think its' the lack of quilting in 2017, it's all being taken out on this poor quilt.  Here's some pictures of progress, working on the second of the three rows of star.  A bit more than 1/2 way done with this monster. 
First row of start completely done

Star 1 row 2 - I should have gotten rid of that dark purple

Star 2 row 2 - I like this one best

Star 3 row 3
I was so happy when I finished the first row, just love it.  I did get rid of the bobbin thread poking through with the invisible thread.  I put smoke color invisible thread in the bobbin.   There had been a bit of chatter lately in different nooks and crannies of the internet about invisible thread and long arms.  When I heard that some some put invisible thread in the bobbin too, I was shocked and intrigued.  Even more intrigued when I saw the little pokies on row 1.  So I thought, hey what do I have to lose?  A couple  hours ripping out stitches?  Yep thought it would be worth it so I gave it a try.  And I LOVED it!  The trick is to not wind the bobbin all the way, if you have the normal size bobbins, like me, wind it half way.  Of course there is bobbin tension adjustment to make, but I've got extra bobbin cases so that was all good.  The back didn't feel bad either.  Will be interesting to see how it feels when I take it off the frame.  Hope I'll still like it then.  The only problem I had was that dark purple. I should have switched to smoke color thread on top, I don't like the color of the clear.   But it's not repulsive enough for me to rip it out, yet.  I may change my mind when it gets off the frame, we'll see.

I was asked last week about marking and in a different group if I marked and used rulers, how do I keep it all straight with the marking.  I thought I'd explain a little about that whole process.  First how do I keep it all straight?  I take pictures of how I marked different areas.  That way I can go back and see what is suppose to be where.  I'd be lost without that little exercise. Especially when the four corners are different from the rest of the quilt.  I've had to wind all the way back to the beginning of the quilt to take a look at what was done many times days, sometimes, like in the case of Old Friends, could be weeks before. Here's a few examples.
corner - I would never remember this, shoot I couldn't even remember by the time I go to the corner on the opposite end

in the center of the quilt - I put dots in the cells to be filled in

sides of the quilt - this doesn't show, but I add registration marks when I quilt the feathers
In these I used chalk, I have two different chalk pencils, a thick one and a thin one.  The thick one I use when I'm trying out designs and not sure of what I really want. It goes on quick, blows away completely great for trying and retry. If precision isn't required, I prefer to use this one.  It's a thicker line, I can see it better and I think it blows off much more easily than the fine pencil.  The fine pencil I use when precision is needed.  It's harder for me to see, I generally have to mark and then go over that same line again to be happy with the visibility of the line.  It is very precise and blows away almost completely, I can still see a hint of chalk, but nothing that concerns me enough to not use it.  The thicker pencil comes with colored chalk which I used once and to this day that chalk is still in my table runner.  I used a green chalk on yellow fabric.  Many washings later that chalk is still there.  Needless to say, I've disgarded all the color chalk.  I use the purple air disappearing marker for lighter fabrics.  I do mark as I go.  I will mark the entire row, then quilt, then turn,  mark and repeat.  If there is a design that is larger than the throat space on my long arm, I will pre-mark with a blue water erasable marker.  but that is generally the only time I will use those.  When I use either the purple or the blue markers I do spritz as I go using water and baking soda to remove the marks as I go.  I like to have them on the quilt for as little time as possible.  It is still necessary to complete submerge the quilt to remove the residue completely.  But I like to see the quilts mark free as I go. 
Purple marking pen, water with baking soda to remove marks as I go

Chalk pencils, fine and thick, blow it off with air compressor
What do I use to mark, rulers, what fun rulers are.  I have quite a few rulers that are used on this quilt.  I think whenever I use rulers I have to touch almost each and every one to find the ones that will work.  I used a lot of the Quilted Pineapple rulers.  Love all the markings on these rulers. The small square on I use almost every time I quilt. 
this little straight edge is my favorite, I use both sides and ends. Here I use the end on one square

Here the side on another square, love this ruler, use it almost every time I need a ruler on a quilt

And this is it's big sister, all those lines are wonderful
I use the 20 for the big curves - and I like the straight on the end, use that too

12 for large hypotenuse of the triangle - love the marks for the square and help keep everything straight and centered

8 for the sides of the triangle

This is  handy quilter ruler 

This 4-way gets used quite often for continuous curve. Lots of different sizes comes in very handy
lots of different rulers, lots of different curves. 

And that wasn't enough, I still need a few other tools, tape roll for circle marking and a leaf ruler for the setting triangles. These are only used for marking, not used when quilting, I'll free hand the marked lines for these.  Look around, there are all sorts of things in the sewing room that can be used for marking
Tape roll was just the size I needed for these curly feathers

This was just right for a gentle arc for these setting triangle feathers. 
While I was waiting for thread and marking was done, I did get a little sewing completed.  On Ring Lake is officially my first flimsy of the year!  It's my first quilt with little tiny pieces in a very long time.  I think I might add a dark blue border, use up the fabric rather than putting it away, but I'll have to stare at it a bit longer. This is going to be my new couch quilt, so excited.  The hubs will have to get closed and cuddly with me if he wants to share on movie night.  My living room is navy and lime green, actually "pear", so that pop of orange will fit so nicely.  Thanks to Bonnie Hunter for a top notch quilt mystery.  
On Ringo Lake
Well, I hope you've enjoyed a little peek behind the scenes of how the quilting gets done and the tools that are used for marking.  I use to try all different ways to work around marking, but really it's the faster and best way to get the pattern on those quilts. This is what works for me, everyone is different and you have to try different things to find out what works for you.  So get out there and try!!  Check out the side bar for some fabulous linky parties.  If you want to see more variation of On Ringo Lake take a little peak here 

Go get inspired!!