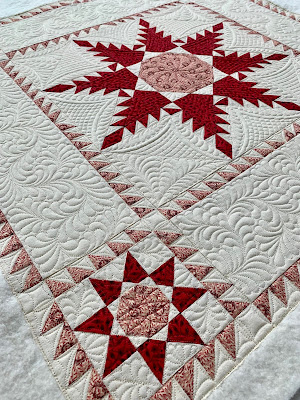
I just finished this custom beauty for June. First I'll show the pictures then a little bit on how we collaborated on the quilting design and the tools used. There were things flying everywhere in the studio with this one! Templates, rulers, stencils, marking tools, manila folders, all of it all over all the time, what fun! You can find June Bacchi on Facebook for more info on the wonderful quilt. This one has two layers of batting, Hobbs wool on top, heirloom 80/20 on the bottom. Glide 40 wt thread on top and 60 wt in the bobbin. Man, my machine LOVES this combination!


Now, wasn't that something. The pattern is Hearth and Home from Today's Quilter Magazine. They have a facebook page as well. These blocks were really big and I'm not accustom to such large blocks. For this I really wanted to try the pattern on the actual size block (rather than marking something up on the tablet). I used florist cellophane (you can get a large roll from Amazon for less then 10.00 delivered to your door). I use painters tape on the edges so it's crystal clear where the cellophane ends and the quilt is unprotected. Then I just draw right on the plastic. I had some ideas about some simple feathers in the colored part of the log cabin (without the house) and drawing that simple idea I quickly found out that was NOT going to work. I was drawing a few ideas for the white area of the same block, one of them involved cat tails ( the plants not real cats :). June then thought 4 seasons would be good (which really is a great idea) but then she thought of the hearts, which was a fabulous idea. After a bit of back and forth together we came up with the quilting design. And that is how one idea leads to another which leads to another.... I love the collaboration. It brings things that neither party would have come up with on their one. I was just in love with this. I added a heart in the colored area a bit larger and that made the feathers much easier to quilt in that area. Then took the heart and put those on the door and above the door. That unifies it all - my home is my heart as June puts it. Home definitely is where the heart is for this quilt!


 |
| Good tool to find out what *doesn't * work. The ones on the right were original thoughts until I drew then full size, then on to plan B |
Other tools that were used once the design was done - the sashing and first border needed a serpentine spine feather. In Margaret Solomon Gunn's book
Featherless Feathers she shows how to use adding machine tape to calculate (hehe) the curve for the space. Fold in half as many times as you like, then mark the centers, add your curve and cut. I used a really thin paper, so I took a complete piece of the arcs and made a template from a manila folder, one for the border, one for the sashing. Worked like a charm. I just used one of my many curved rulers for the corners.
Stencils - I used a couple of stencils for this project. The clam shells and the 1/2 in cross hatching were used on the roof and the bricks.
Deloa Jones has some wonderful grid based stencils I had one stencil with two hearts just the right size for the door and above the door. No reason you have to use the entire stencils, just use the parts you want!!
I didn't have stencils nor did Santa bring me a set of circle templates, so I made my own hearts and circle again. I add registration marks to the templates for ease in placement.
Rulers - of course I used used
Linda Hrcka's curved rulers this one used the 20 and the 34, first time I got to use one of the big curves. Was perfect for this big blocks! I also used
Bethanne Nemesh garden line straight edge and quilters Rule curves - that is just a great one for same curves, used it on the curtains.
The usual marking tools no change here.
I'll be sad to see this feathered beauty go, Thanks for letting me quilt for you June, loved the collaboration and what we came up with for the quilting plan together!
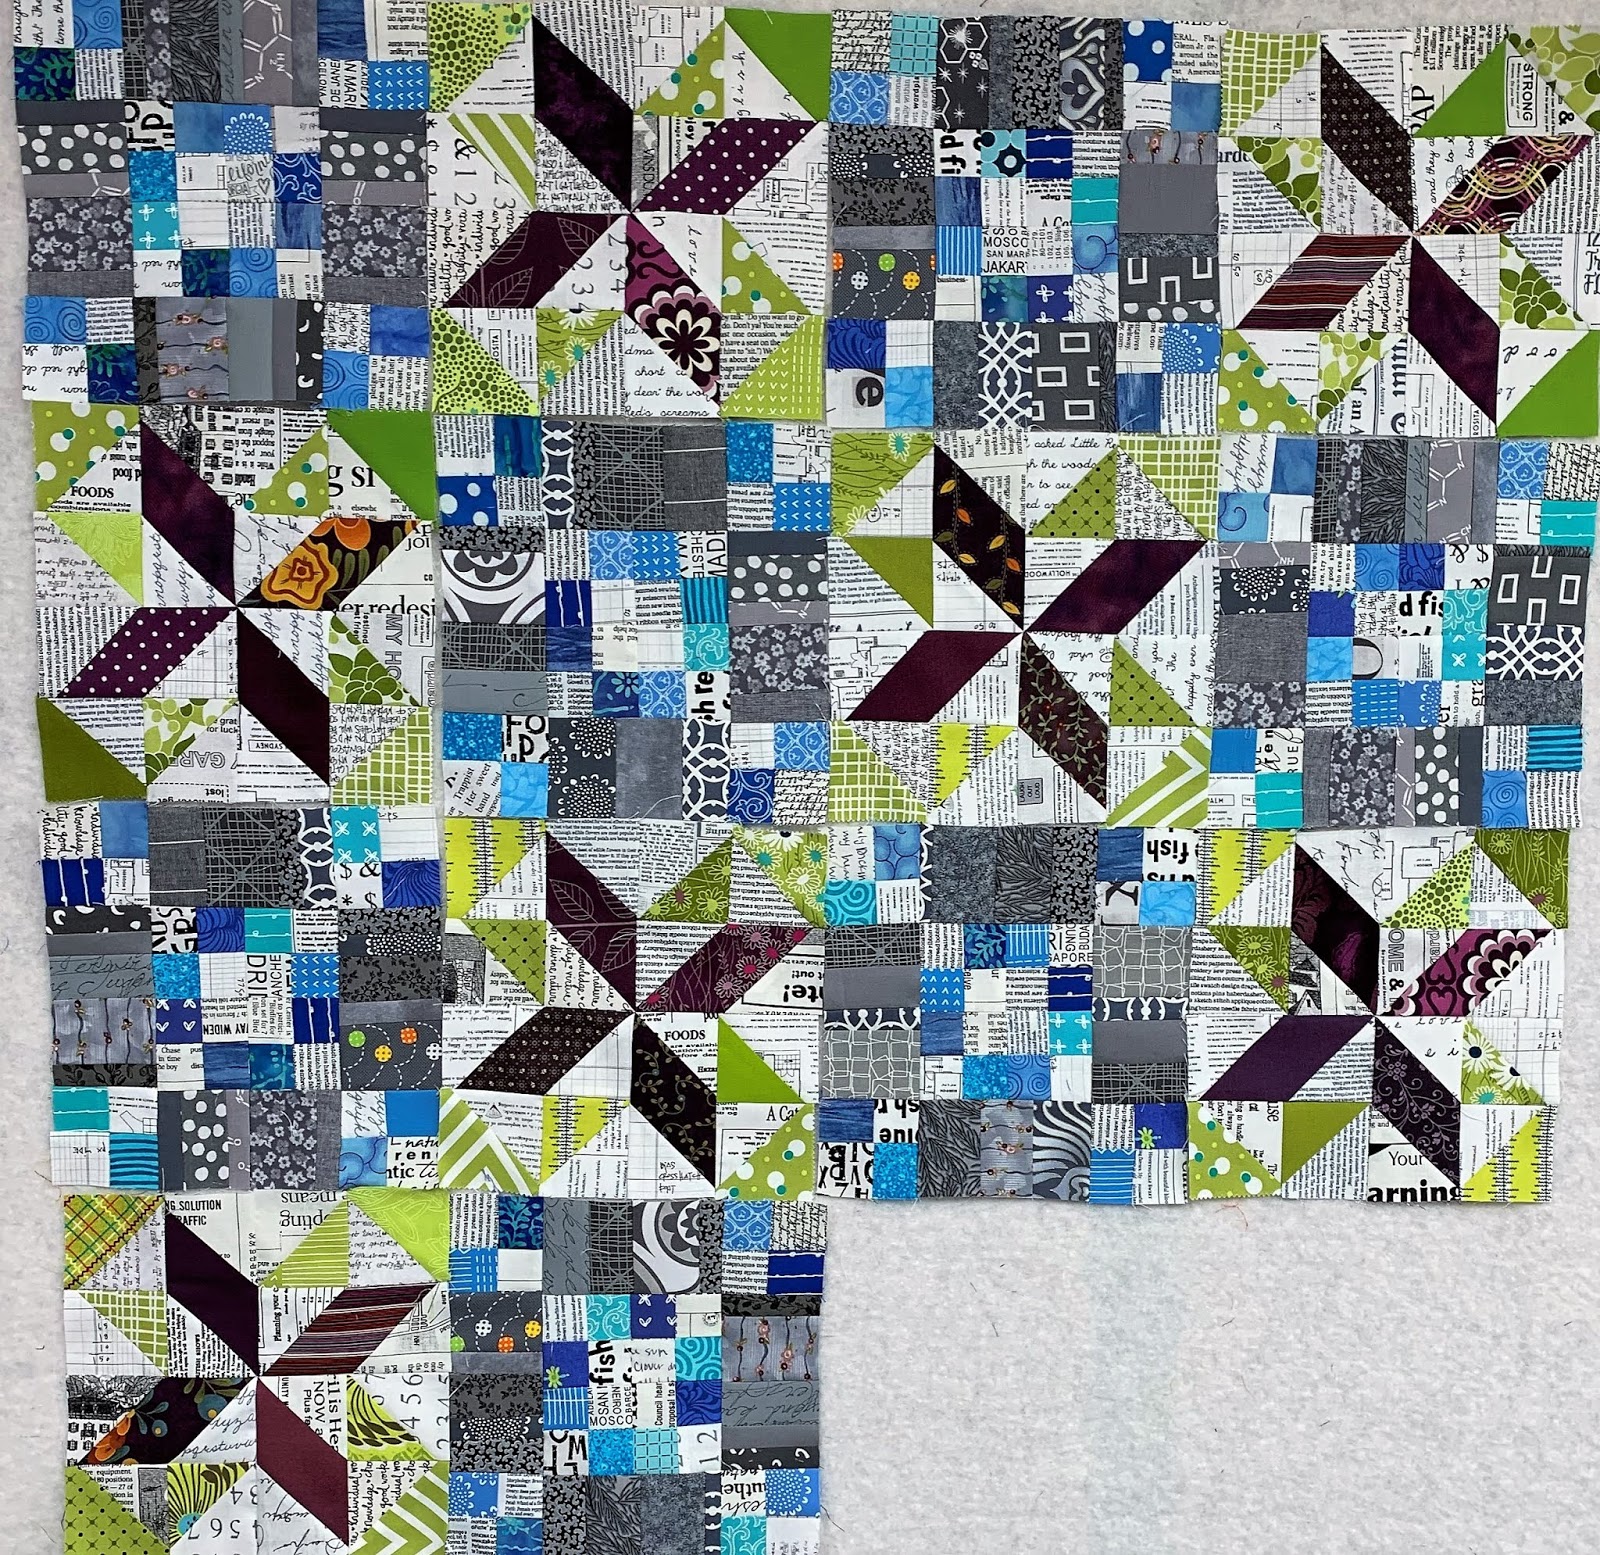
I was having so much fun with this feathers that I neglected Good Fortune, but I did get a couple of the blocks done
Just an FYI - I am not affiliated with any of the products that I show here, I'm just a very happy customer and highly recommend their products.


 Oh I don't think I've the proper introductions. I'd like to introduce our newest family member Isaac. Zaffle left us on Halloween last year and I thought for sure that I would wait at least another year. But no, the break during the holidays made me realize I need a furry friend. Well here he is. This little guy has been down in the quilting studio, but hard to tell if he likes it yet or not. Zaffle always kept me company when I was quilting. I think Isaac is going to love being down there.