
Printer Friendly Version
Cutting directions


Cutting directions
- Lining Material – 1 – 21x33 square
- Outside Material – 1 – 21x 33 square (can be a solid pieced, something that is pieced together … get creative!)
- Fusible Interfacing - 1-21x33 square (if you don’t have this, you can always use scraps of batting, you just need something to give some structure to the bag – when I use batting, I quilt just the batting and the lining, leaving off the outside of the bag until it’s time to sew it together)
- Outside Material – 2 – 3.5 x 40 strips
- Fusible lightweight - 2 – 3. 5 x40 strips
- Coordinating Material – 2 – 2x40 strips
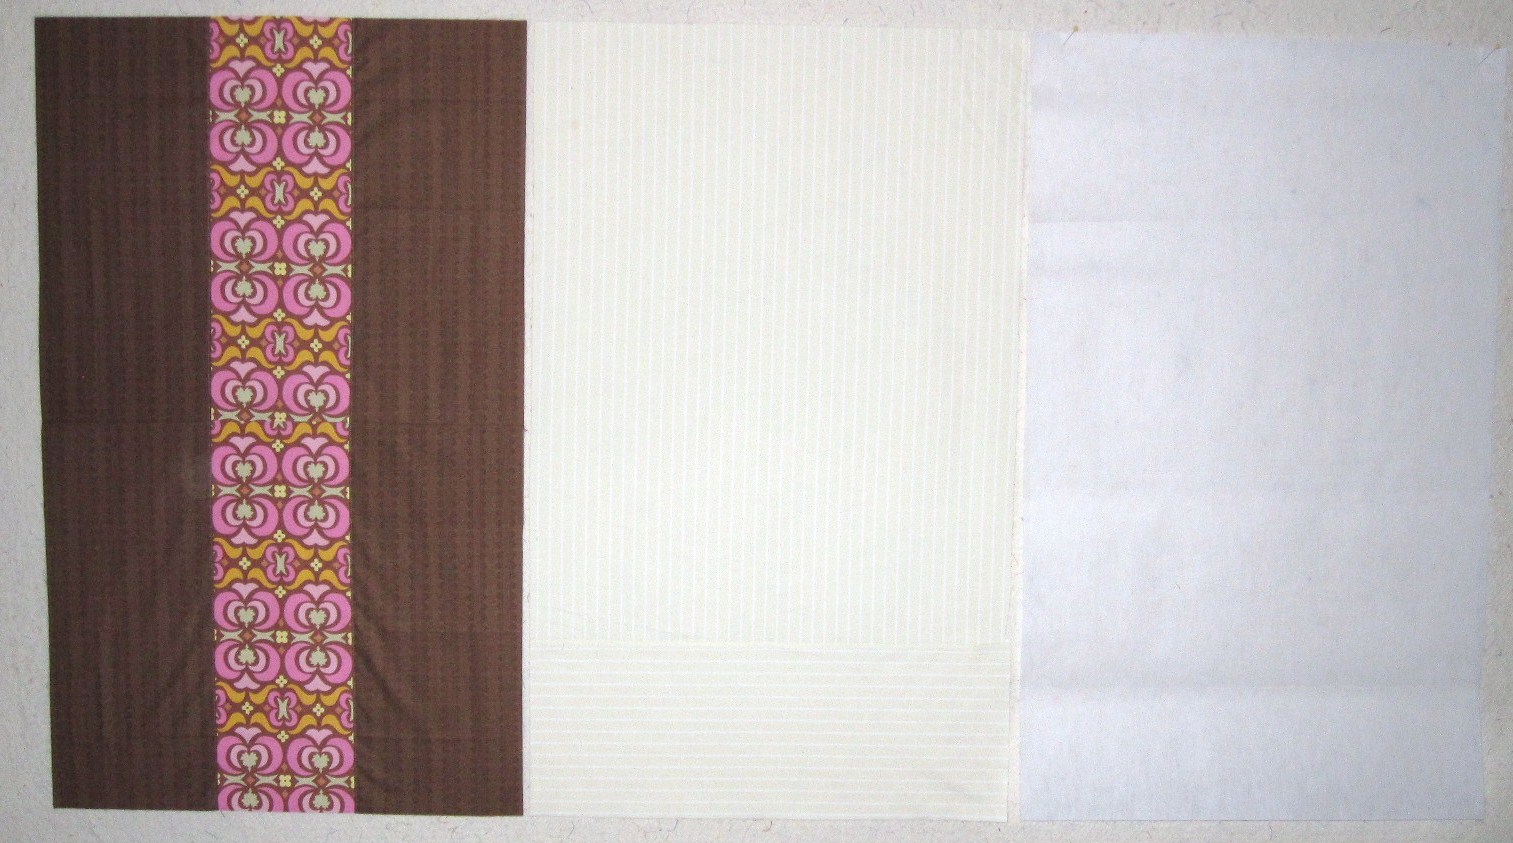
- Here’s my fabric. As you can see I did piece my outside. The yellow is my lining. I didn’t have one full piece of lining and that is pieced as well. I was using what I had and hey, it is the inside of the bag right J

Sewing Directions
- Fuse the interfacing to the lining fabric and to the largest of the strips for the handles. Interfacing goes on the wrong side of the fabric. If you are using batting instead of interfacing, quilt the lining fabric to the batting. The outside of the bag will be added in the next step


- Now it’s time to start sewing. Put right sides together of the lining and the outside of the bag. Sew all the way around leaving a small opening to turn when done

- Iron when turned. Make sure those seams are nice and crisp!


- Iron open the seams on the inside of the bag.
- Mark a 3 inch square on the lower corner of the bag. When marking on the side of the bag, mark from the sew line, now the edge.
- Cut out the square on each corner.
- Now I like to sew down the seams. I do this before I make the corners. Once that is done. It's time to make the corners. Take the corners that were cut and line up the seam right in the middle. Make sure all layers from inside the bag are pinning and lined up nicely. If you grab the inside corners and line them up, it goes into place very easily. Pin and sew with a scant quarter inch.

- Now turn the bag right side out, and sew this seam on the outside of the bag with a generous quarter inch seam. Now it will be nice and neat on the inside, no raw edges. Next I topstitch around the top of the bag. I like my bags to stand up, so I sew each of the edges of the bag on the outside with a scant 1/4 inch seam. When all that is done, all that's left are the handles


- The handles, you're almost done now. I like to fuse a light weight interfacing on the larger piece of the handle, just to make it a little sturdier. Once that is done, right sides together sew with a scant 1/4 inch seam on all pieces, the 2 larger pieces and the 2 coordinating fabrics. When done sewing, turn the tubes right side out and iron centering the seams of the tube.


- Then with seams together, center the coordinating tube on top of main handle. I turn the bottoms under a generous 1/4 inch and sew each side down.


- I like to have about twelve inches at the top for the straps. With that in mind measure how far down you need to have your straps. These were slightly smaller than the 40 inches as I was using fat quarters for the brown and only had 36 inches for each strap. But that’s not a problem. As long as I have few inches sewn to the bag and roughly twelve inches above, it’s all good. So for me, I used 4 inches as my guide. I centered them in a position that looked pleasing and made sure there were on roughly the first quarter and third quarter position. Depending on how you piece your bag your straps may move an inch or two. But in general try to say in the 3-4 in space from the edge of the bag for good support. Sew down one side, across the bottom, back up and then sew an X at the top for added strength. I sew this 3 times for each X
- And that's it, now you have a completely washable, reusable, one of a kind shopping bag. Let's go shopping! I hope you enjoyed my first every tutorial.


I have respect for anyone who can make bags! I am horrible.... Your bags look lovely.
ReplyDeleteThanks Sue! Now I have another way to use up all these batting scraps! YAHOO! I HATE those green non woven bags at the Grocery store. Read something about them being really dirty too. THESE are gonna be great! I will send you a picture when I get some done..thank you thank you!
ReplyDeleteI'll add this bag to my pattern box...I've made other reusable shopping bags. My favorite has an embroidered pocket between the handles. It's fairly deep... about 6 ton 8 inches. I used my embroidery machine to embroider a cat in a tree with the words...Save a Tree. Love using it. Thanks again for the tutorial. It's easy to read and love those pictures!
ReplyDeleteAlice in Central Florida
amiddlem@gmail.com
Reusable bags are easier to carry, typically having long, soft, fabric handles that are easy on the hands and are easy to put over your shoulder. Additionally, reusable eco-friendly bags are washable and are made from strong fabric that will last for many years.
ReplyDeletepackaging supplies