Showing posts with label QOV. Show all posts

Sunday, November 23, 2014

Freedom Quilt Complete

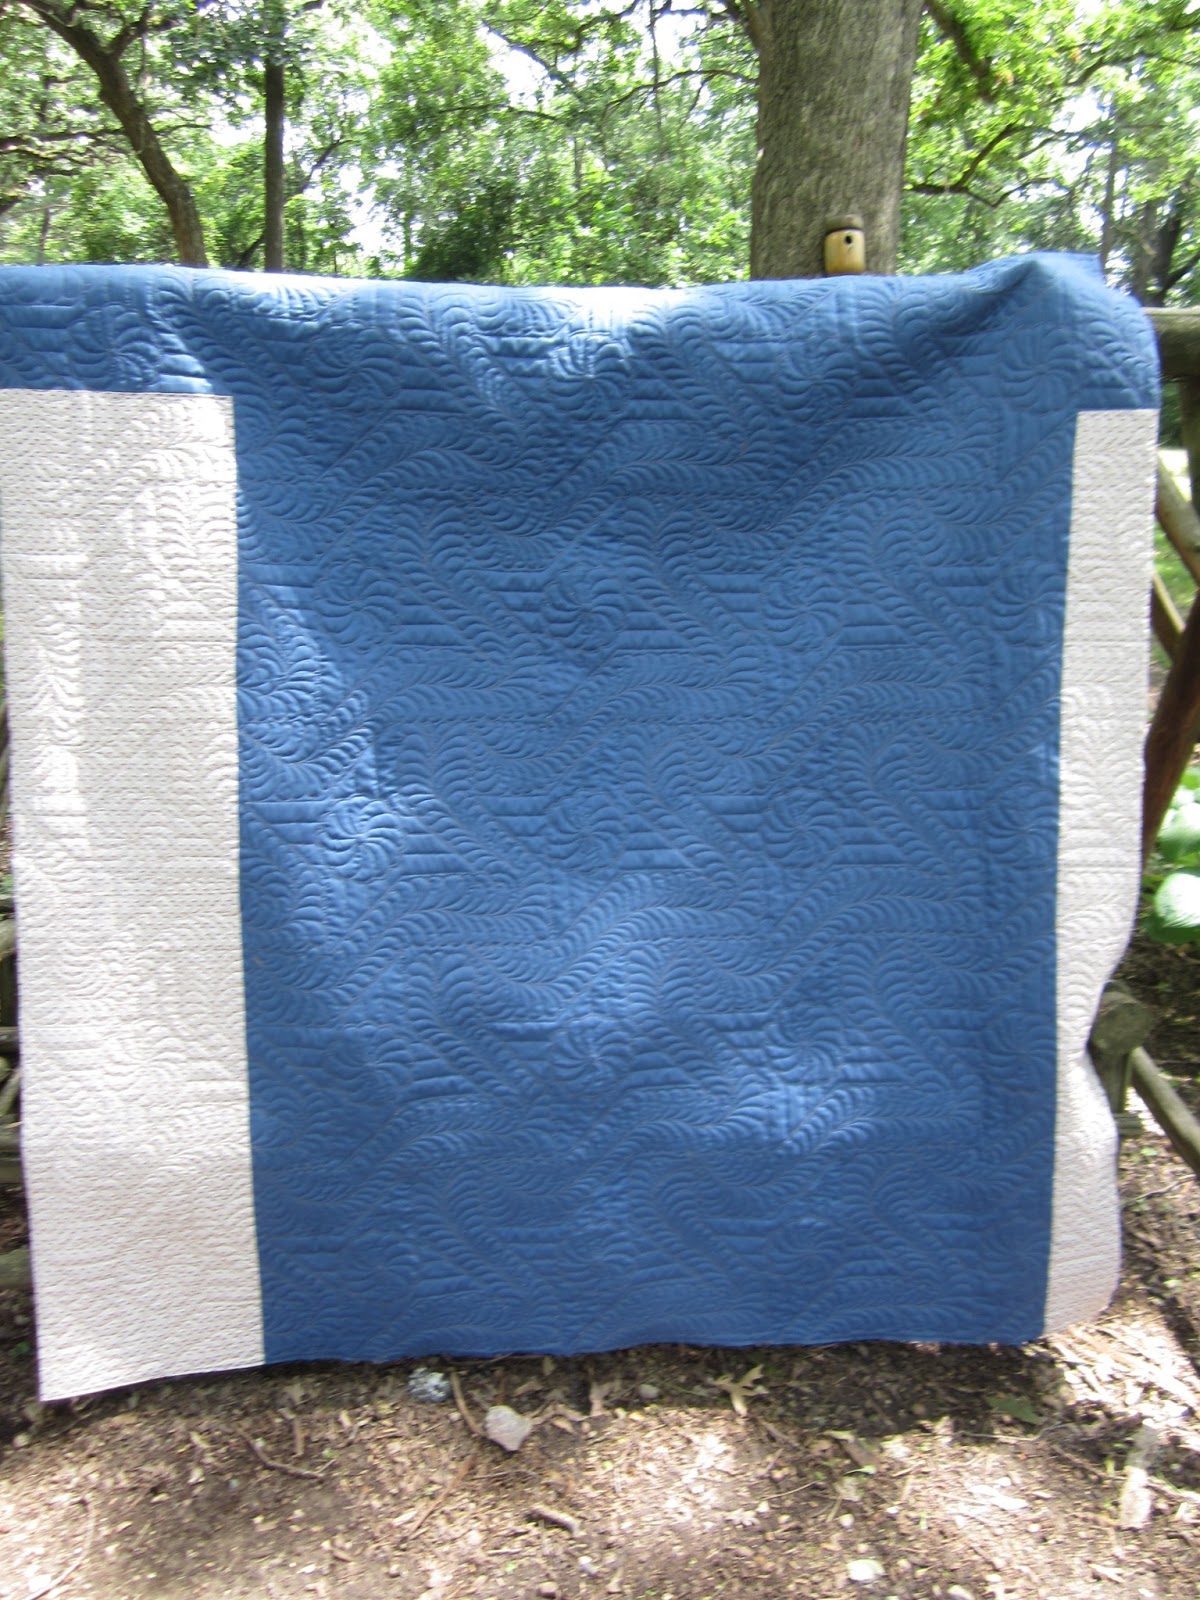
The only thing left is the label.  The last two post have had the details of this quilt so I won't add those again.  I lost 2 inches on this in the quilting, it's now 88x88.  I'll lose a couple more inches when I was it as well.  But for the most part I'm pleased with how it turned out. I took a very simple pattern and complicated it as much as I possibly could!!  It really was an emotional quilt to complete.  My dad was in the Korean War and my niece as been in Iraq twice and Afghanistan twice, I know this has changed them forever.  There isn't a lot that I can do, so I do what I can and that is to quilt.  Hopefully this quilt will comfort a soldier from my nieces unit and let them know how much their service is appreciated.


Two layers of batting - Hobbs 80/20 on the bottom, Hobbs Wool on top - love love loved this combination.   Premosoft 50Wt thread on top, 60wt magna glide in the bobbin.

Now that I have the next couple days off to sew, I thought I would start a new project.  The quilt on my bed is really worn and tattered.  I've only made one quilt for my bed and that quilt has been used every single day for the past 12 years.   It's time for a new one.  I have the swoon ready to go, but that doesn't really fit the whole log cabin feel, and the way I'm stalling with that one, there will be plenty of quilts coming out of my sewing room before I finish that one, but it is on the list.  Hubby wants a log cabin quilt (that's what is currently on the bed) and I want something a little bit more modern.  So log cabin block it is (hey he wants a log cabin feel, how can a log cabin block NOT give that feel?) I'm using 2 fat quarter bundles of shot cotton (love) so that will satisfy my a little twist of modern.  I know they are going to be 9 in blocks.  Just not sure which pattern, here's the two options - surprisingly I like option 1 where hubby likes option 2 - really didn't see that one coming.  But I have 169 blocks to put together before we actually have to decide. So what do you think?  Option 1 or option 2?  And I think the contrast between the light and dark is going to be a bit less with these fabrics .  Don't forget to check out all the linky love on the side bar.  Lots to see and do every day of the week!
Log Cabin Option 1
Log Cabin Option 2

Sunday, November 9, 2014

Happy Veterans Day! Nov 11.

To all those that have served kept us free to do as we choose, thank you!!  I can't imagine what some have sacrificed.  We are free because of the brave.  I did finish the top for the my niece and the 101st Airborne.  I just have to do some fancy quilting on this one and get it to her.  She's on her way home and I'm so glad.   She'll be here for her dads 60th Birthday which is just wonderful for both of them.  I think I'm going to use Polydown with this one.  I have a bit of unevenness by the embroidery and I think a higher loft in that area will help and fill things in a bit.  Just a little concern as I do plan to do some fancy quilting on this one (though at this moment I have not idea what that will be) and I don't want it to be too stiff.  I think the hobbs 80/20 may keep it a bit softer.  But I also have some wool batting too.  Thoughts?  What will be the softest of the three with some medium to dense quilting? This turned out to be a nice size, 90 x 90 before quilting and washing.  I completely ran out of the red and blue.  That is why the borders are the size they are, nothing more was in the house.  The white in the border is actually a different white from the interior, but I think it matches well enough.  I didn't have anything at all that could match the blue or red.  But it all came from my stash which is awesome!

I finish this week as well.  I had almost all of a fat eight pack of Oh La La fabric line.  I just adore these fabrics.  I added a couple of solids, used the accuquilt 3.5 x 6.5 die and had a quilt together before you know it.  I used this one as leader and ender  project when I was making the Brick Road.  I just love the colors on this one.  Panto is Fanfare by Patricia Ritter, this is definitely one of my favorite edge to edge pantographs.  Hobbs Poly down batting, Glide thread on top, magna glide in the bobbin.  Size is 48 x 60 after washing, nice lap size.
Fanfare Pantograph, Hobbs Polydown Batting, Glide thread
Brick by Brick
Brick by Brick
Stop by all the linky parties, more than one for every day of the week!

Sunday, July 7, 2013

Project Scrap Attack is complete!!

Yep that's right.  My Scrap Attack project was making 4 quilts from my scraps as there were getting completely out of hand.  And yes I made 4 quilts and still have enough scraps to make another 4.   And there's a prize for me at the end of project scrap attack.  I get to start a quilt that I just absolutely fell in love with the first time I saw it.  So 4 quilts huh?  Yep Scrap Attack number 1 can be seen here.  I won a bag of scraps that had the coral and brown fabrics.  I never put them away so I used them up.  I added the greenish yellow color.  I love the combination of colors in this one.   Not something I ever would have planned for myself.  And that's what I love about using up scraps, you do things that out of your comfort zone.
Scrap Attack #1
And then there's freshly squeezed- scrap attack quilt 2 - I used left over strings that were just sitting there looking all pretty and a charm pack that I never put away.  Front and back are all scraps
Fresh Squeezed back
Fresh Squeezed
Scrap Attack #3 is a QOV quilt.   Just used 2.5 in strips.  I even got the binding out of my scraps on this one.  Not sure how I ended up with so many 2.5 in strips of the same fabric but they were all in the scrap bin.  And now put to good use!
Scrap Attack #3 - QOV 
Scrap Attack #3 back
And the final Scrap Attack is a graduation gift for a friend.  She's going to University of WI so I made a quilt in her college colors.  The reds are completely exhausted in the scrap bin. I had to break into a few fat quarters on this one, but the Red, White, Black and blue (from the QOV) scraps are completely under control and waiting to be replenished.  I have the EQ file that I'll post on the EQ and Tutorials page later in the week if anyone is interested.
Scrap Attack #4 
Scrap Attack #4 back - love Ikea fabrics for the back
Isn't there just something so satisfying when you make a quilt from your scraps?  I just love the feeling of making a whole quilt with the left overs from other projects.  So nice.

I also finished a QOV that was sent to me from Marian.  What a great pattern she used.  I wanted to create motion in this so I had the feathers winding around the blocks.  I was in a feather mood!!


Now with all that done, here's what I am going to start on next weekend, so excited!!!

Thursday, July 4, 2013

Happy Independence Day!!

Hope everyone has a safe and wonderful Independence Day.  The weather here in the Midwest is starting to feel just  little bit like the fourth of July!!  Sunny and in the upper 70s.
  
I was able to get up early enough and get a little quilting done.  I'm working on a QOV - now that's appropriate right? :) Someone suggested I do a video for how I mark things and get them quilted.  Well that's not gonna happen.  But I did take some extra pictures, so you can see how I mark things, tools I use and what I mark.  Hopefully this will benefit someone!  On this particular quilt, I have a center motif for the red and blue patterns, and background feathers for the background.  I start by marking the center of the block with a chalk pencil.  

I then place the stencil using the center mark

The stencil has a rough side and a smooth side.  I place the stencil rough side up, then rub (not pounce) my pouncer across the stencil.  I got this new pink chalk that just rubs off with a paper towel ( I use a small scrap of batting and it works like a charm!) at the quilt show a few weeks ago.   I also have the white magic chalk that comes off with steam, that works great too.  The pink I really like (I don't need steam) and I can use it on white and light color fabrics.  It does tend to come off from the vibration of the machine.  I've used this stencil a number of time so very familiar with it.  Not sure how the pink chalk would work on a stencil that I'm just getting use to simply because it does have a tendency to come off while quilting (which is what I kinda like about it - easy removal).
LOL this picture has ALOT of chalk on it!!  Normally I don't have *that* much on there.  But for illustration purposes, we used a *little* extra.  I also like to mark the lines for the ruler work - yep I tend to mark AND use the ruler.  I use a regular chalk pencil for this part.   For the back ground feather I mark the spine with the air erasable marking tool.  The line just goes away over time.   You may have to click on the picture to see the purple lines.

Here's  a picture close up of the purple line.  I just free hand roughly where I want the spine to be.  In this case the feathers are going around the block so all I have to do is mark roughly in the middle making sure there are nice gentle curves all the way around.   Now that the marking is done, it's time to get to some quilting.

Here's my marking tools that were used.

And this is what it looks like when quilted.  You can see the chalk is gone and the purple marks erased.  I'm hoping with the feathers going around the block that there will be a bit of motion in the quilting when it's all done.

I hope everyone enjoys the day and enjoys the freedom that we have which allows us to choose how we spend this day!

Monday, May 27, 2013

DWM 5/27 - Happy Memorial Day

Happy Memorial, and thanks to all who serve so that we can celebrate this wonderful day.

In honor of memorial day I finished a QOV that was sent by Jane who is my QOV partner this month.   Beautiful strings  on this one, love how it looks together.  I used a stencils for the string blacks and simple  straight line quilting around each of the blocks.   Love this one.


I did get a lot of things done yesterday.  But not a lot of pictures  yet to show  for it :)  I went through the batting scraps  and was able to put together all four battings needed for the H2H quilts. And I still have some left.  I pieced all the backs for the quilts and now just need to get them quilted.  I'm trying to resist the "quilt it like crazy" urge and hoping more for finished:)  Well I have one quilted - Twinkle.  I used fantasy flame pantograph  on this one, just love the texture it gives.  And I get can get a quilt completely quilted in a couple of hours with this one.
Twinkle - H2H#1 back
Twinkle - H2H#1  - front


I got the last of the tops pieced - this is the girls pezzy print zig zag- now on to the quilting....
H2H #4 - Girls Pezzy Print


Friday, April 12, 2013

QOV Twins - Frame Friday

Look it's twins!!  These beauties are from Andrea in IL.  Right before Christmas 2012 she watched a short program on PBS (local channel) and they were telling the story behind QOV and what it means.  She's always felt that just walking up to a Veteran and telling them Thanks was just not enough, and when she saw this program about QOV she absolutely knew that she had to be apart of this wonderful, fulfilling program.  So she started searching for fabrics and patterns and has to this day made 12 quilts and still working on more.   She is working with a local Marine to gain more names and  hopes to have some more quilts finished soon to give out.   Her Mother (Cathy) helps  with each quilt, she cuts, Andrea sews, and she binds them once they come back.  She calls this Hearts, love the pattern.  I put them both on the frame at once and they were done in no time!


And here's the finished one from last week, this is from Phyllis in MI.  Love this one too!!

Here's how I did the border, the last time I had this border on a quilt someone asked how I did it.  This is the way I did it that works for me.
You need an arc big enough for the border, this a circle template that I have, a plate, pan lid, anything will work as long as the arc is big enough.  I place the template so its on either the edge of the quilt or the border seam, doesn't matter which you do first.  then mark that arc,
 Now take your arc and flip it to the other side.  I did the edge of the quilt first, then the seam of the border.  Have the new arc start where the last one finished.  Keep going all the way around like this.
Then fill in the segments.  I start at the largest end and work my way down filling in the segments.  Keep doing that all the way around.  And then start quilting.  It's that easy.  I do mark and use a ruler.  I've tried not doing both but with circles and diagonal lines I need a ruler and to mark.

Hope that helps and wasn't too confusing.  I just make my best guess around the corners. It doesn't matter how many arcs you have it's what every you feel comfortable with and what works for you.

Linking up with Sarah, stop by and see what everyone is whooping about :)